Squad, tactics and training
Results come from the players you have and how you ask them to play. This chapter covers reading your squad, choosing a shape and instructions the match engine actually follows, and using training to make the squad better over a season.
Your squad
The Squad screen lists every player at the club. The Table view puts them in rows you can sort and filter by position, age group, contract and whether they are on the transfer list, with tabs for physical, technical, mental and goalkeeping attributes, the season's stats and contracts. The Depth view lays the squad out by position, so a gap behind your first-choice left back is easy to spot.
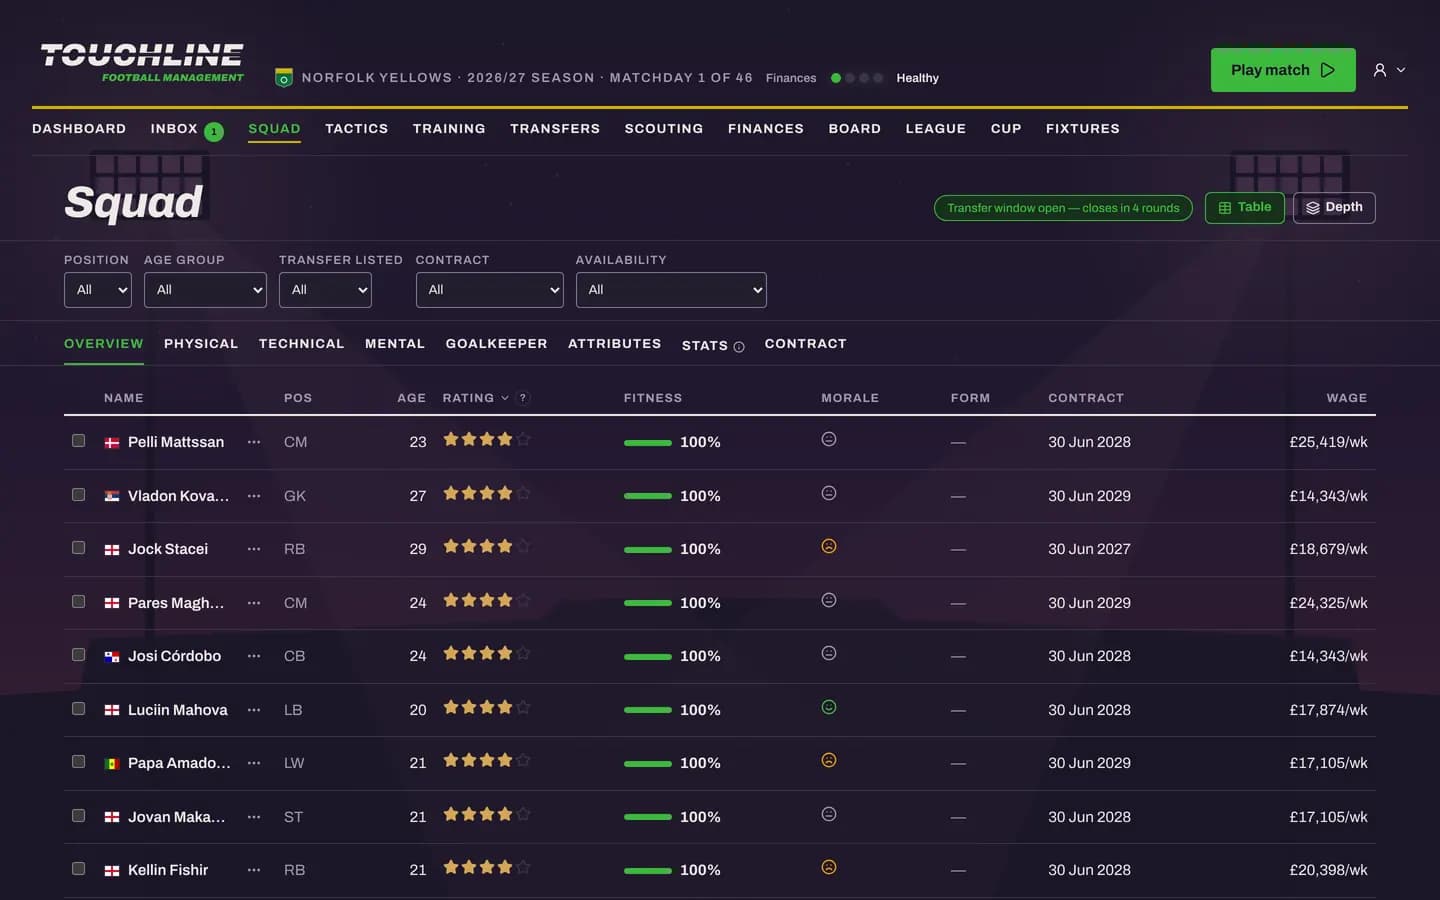
Star ratings. Stars show how good a player is in his position, from one to five. They band his position rating (0 to 100) in steps of 20: 80 and above is five stars, 60 to 79 four, and so on.
The player profile
Click any player for his profile: position, age, nationality and shirt number, his star rating, morale and fitness, every attribute from 1 to 100, and his season and career numbers. Attributes come in three groups, plus goalkeeping for keepers:
- Physical: pace, acceleration, agility, balance, stamina and jumping reach.
- Technical: finishing, long shots, shot power, dribbling, passing, first touch, tackling and technique.
- Mental: decisions, positioning, composure, vision and more, the qualities that decide what a player chooses to do with the ball and without it.
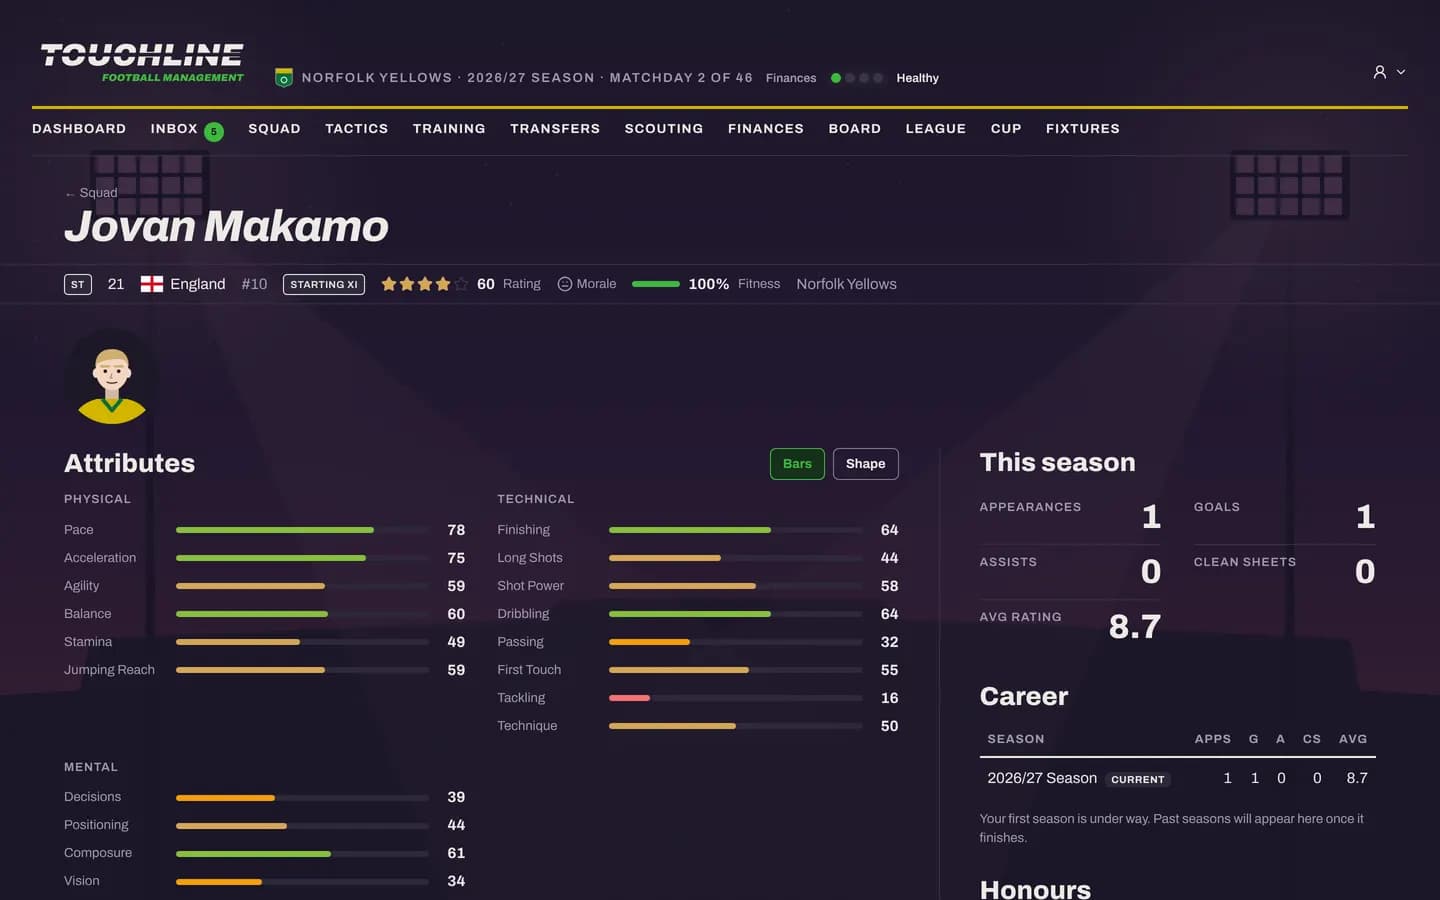
The engine reads these numbers directly. A quick winger beats his full back on the outside because his pace is higher, not because a dice roll said so, and a striker with poor composure snatches at chances a calmer one would bury.
Tactics
The Tactics screen sets how your team lines up and plays. Choose one of seven formations (4-4-2, 4-3-3, 4-2-3-1, 3-5-2, 4-1-4-1, 5-3-2 and 3-4-3), then put a player in each slot, or press Pick for me for the assistant's choice. A player out of his natural position is flagged, and the assistant warns you about anyone tired or unfit.
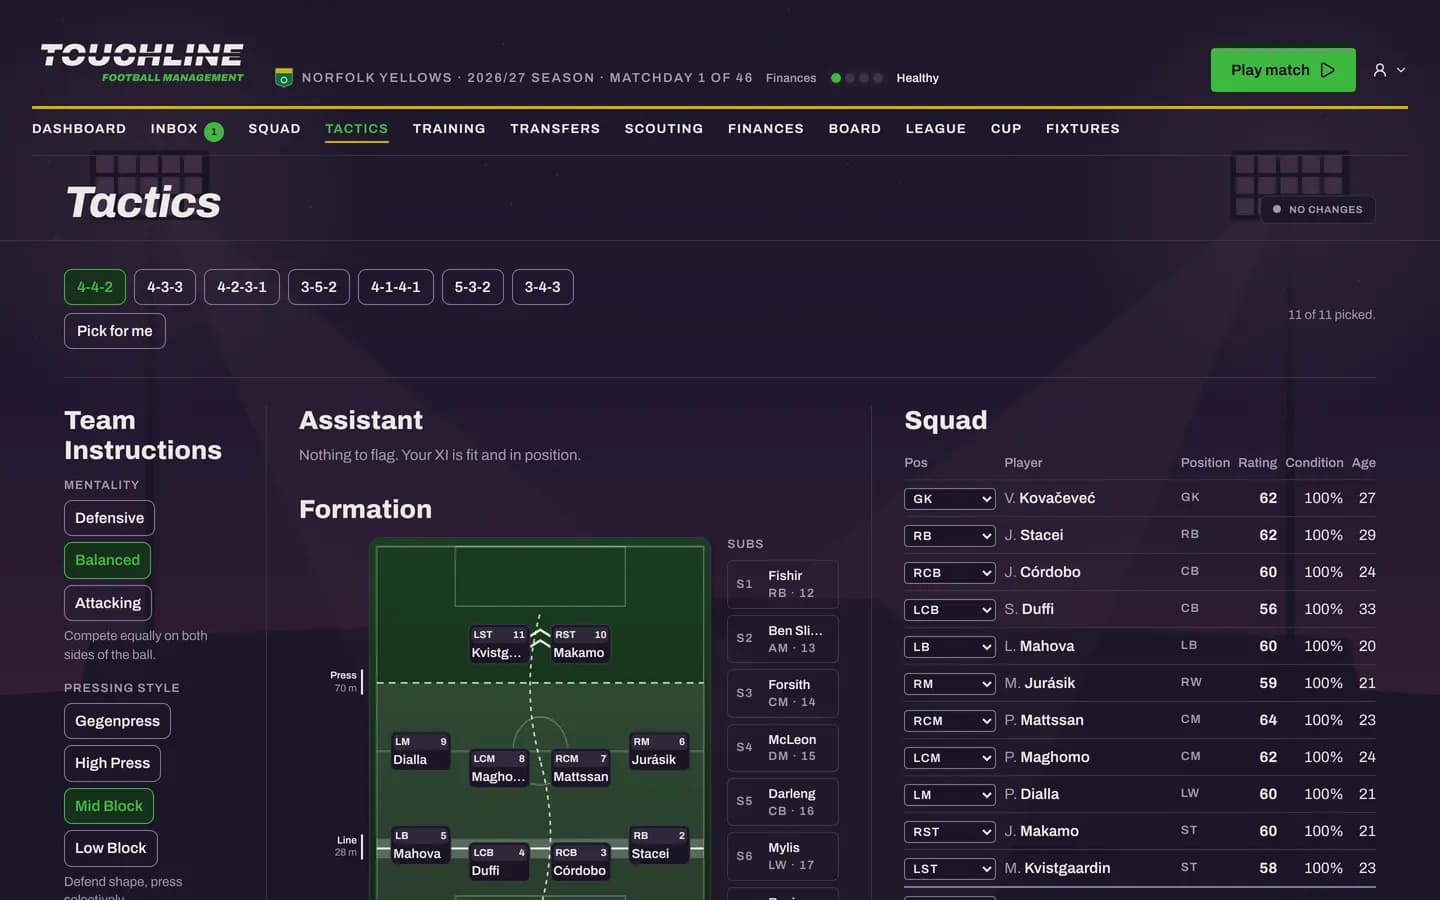
Team instructions shape how those eleven play:
- Mentality: Defensive (sit deeper and counter), Balanced, or Attacking (push up and commit players forward).
- Pressing style: Gegenpress (win the ball back within seconds, at the cost of more running), High Press, Mid Block or Low Block.
- Passing style: Direct, Mixed or Short.
- Tempo: High, Normal or Low.
- Width: Narrow, Normal or Wide with the ball.
- Defensive line: High (squeeze the space, risk balls in behind), Normal or Deep.
You can also name your takers for penalties, corners and free kicks, or leave each on Auto and let the match decide.
Training
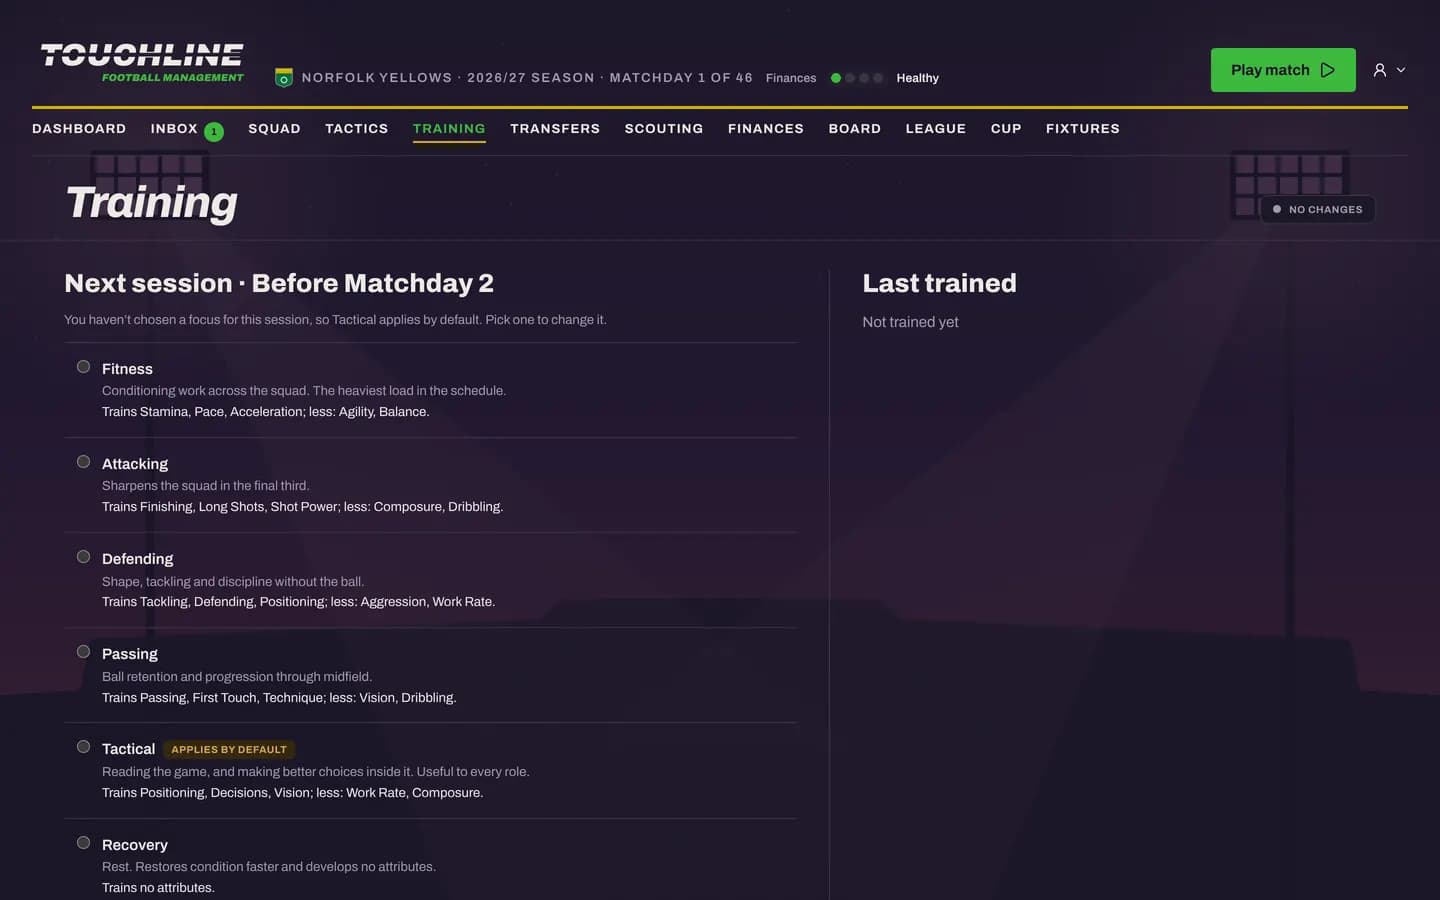
Before each matchday your squad trains, and the Training screen sets the focus of the next session. Each focus works on a set of attributes:
- Fitness: stamina, pace and acceleration. The heaviest load of all.
- Attacking: finishing, long shots and shot power.
- Defending: tackling, defending and positioning.
- Passing: passing, first touch and technique.
- Tactical: positioning, decisions and vision. It applies by default if you choose nothing.
- Recovery: rest. Condition comes back faster and no attribute develops.
Progress is gradual. A single session adds a small fraction to an attribute, and when the fractions add up to a whole point the attribute goes up. Players who are close to their next point are marked with a small upward arrow, and the training screen lists them, so you can see the work paying off before the numbers move. Young players with room to grow improve fastest.
Fitness and condition
Every match and every hard session costs condition, shown as a percentage. A tired player runs less and makes worse decisions late in games, so rotate when the fixtures pile up, and use a Recovery session after a hard week. The dashboard shows how many of your squad are below 80%.